
How to use a tyre inflator kit

It’s a deflating feeling: you walk out to your car in the morning and notice one tyre looks a lot saggier than the other three.
A flat tyre used to mean pulling the spare wheel out of the boot (usually getting grime or tyre black on your hands) and spending half an hour loosening wheel nuts and propping up the car on a jack.
These days – on urban-focused cars especially – manufacturers are opting to delete the spare wheel in favour of a tyre inflator kit. There are several reasons for this: it frees up space in the boot, an inflator kit is much cheaper to produce, and using it is (in theory) quicker and easier.
But how many motorists with a tyre inflator kit in the boot know how to use it? It’s not as if car dealers provide a seminar with purchase. And if you drive primarily on suburban roads, it can be years between punctures. If you’re handy with a jack and a wheel brace but have no idea where to start with a tyre inflator kit, you’ve come to the right place.
What is a tyre inflator kit?
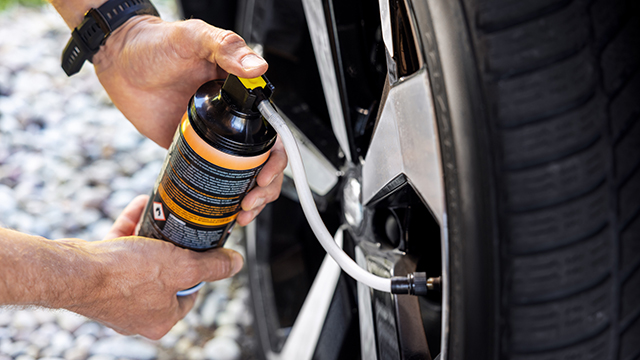
In the past, some motoring journalists referred to it as “a can of goo”, and that’s not far from the truth. A tyre inflator kit is a pressurised can containing a mixture of air and sealant that connects directly to the tyre valve. This is distinct from a tyre repair kit, where a rubber plug is pushed into the puncture hole with a special tool and held in place with adhesive.
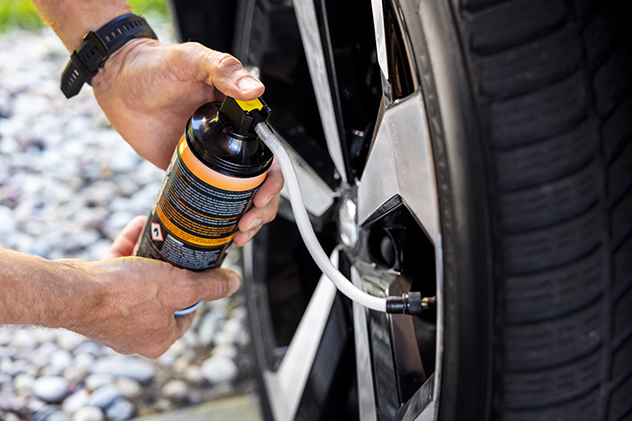
How do you use a tyre inflator kit?
If you’ve put air in your tyres at the local servo, you have nearly all the skills you need to use a tyre inflator kit. But there are a few things to note to ensure the process runs smoothly.
1. Park your car in a safe place.
If you’re out and about and can’t reach a safe spot away from traffic to do the repair, pull over and call the NRMA for assistance.
2. Remove the offending object.
Can you can see the nail or screw that caused the puncture? If so, remove it using pliers or a screwdriver.
3. Face the puncture site towards the ground.
If you can see the puncture, roll your car forward until the hole is at the lowest point (i.e. facing the road). This will make the sealant more effective.
4. Shake the can well.
Sometimes the little things make a big difference. Shaking the can will ensure the sealant is mixed and provides optimum performance.
5. Connect to the tyre valve.
Remove the cap from the tyre valve, then screw on the inflator kit’s hose until it’s tight.
6. Commence inflation.
Different tyre inflator kits can operate in slightly different ways, so check the instructions on the can first. Generally speaking, you hold down the trigger and the tyre begins to fill with air and sealant. Empty the full contents of the can into the tyre.
7. Remove the hose.
Once the can is empty, remove the hose from the tyre valve and don’t forget to replace the valve cap.
8. Drive off straight away.
Immediately after filling the tyre, drive off at a low speed (max 50km/h) to spread the sealant inside the tyre. This will ensure a good seal of the puncture. Do not travel at higher speeds until you have covered around 10-20km.
I can’t get the nail or screw out. Can I still use the inflator kit?
Yes, but leaving a foreign object in the tyre may prevent a proper seal forming (or drastically reduce the lifespan of the seal, as the object will move around and damage it).
Does a tyre inflator kit permanently fix the tyre?
No. A tyre inflator kit only provides a short-term solution to get you going again. It is important to have the tyre professionally repaired or replaced as soon as possible.
Are there any limitations with a tyre inflator kit?
Yes, tyre inflator kits are only suitable for use on slow leaks and small punctures, such as those caused by nails. The adhesive cannot seal large holes or damage to sidewalls.


